A Teen’s Guide to Getting Fit at Home—No Equipment Required

Introduction
Getting fit doesn’t mean you need to join a gym, buy fancy gear, or lift heavy weights. In fact, some of the most effective workouts use nothing but your body—and can be done right in your bedroom, living room, or even your garden. Whether you’re looking to boost your energy, feel better about your body, or simply stay healthy, this guide is here to help.
This isn’t about becoming a bodybuilder or comparing yourself to fitness influencers. It’s about getting stronger, moving your body in a way that feels good, and building confidence—one no-equipment workout at a time.
Why Home Fitness Is Perfect for Teens
As a teenager, your schedule can be packed with school, homework, part-time jobs, and social life. The great thing about home fitness is that it’s flexible, free, and private. You can work out before school, after dinner, or whenever you find a spare 20 minutes.
Plus, it helps with:
Reducing stress and anxiety
Improving sleep and focus
Boosting self-esteem and energy levels
Supporting healthy weight and growth
And best of all—you don’t need any equipment to get started.
“Teens don’t need equipment to get fit—what they need is consistency, encouragement, and workouts that meet them where they are.””
Setting Up Your Workout Space
You don’t need a gym—just a small space where you can stretch out your arms and legs.
Here’s how to set up:
Find a flat surface like a carpet, yoga mat, or rug.
Wear comfy clothes you can move in. Trainers are optional, especially for bodyweight exercises.
Keep a water bottle nearby.
Tell others at home when you’ll be working out, so you’re not interrupted.
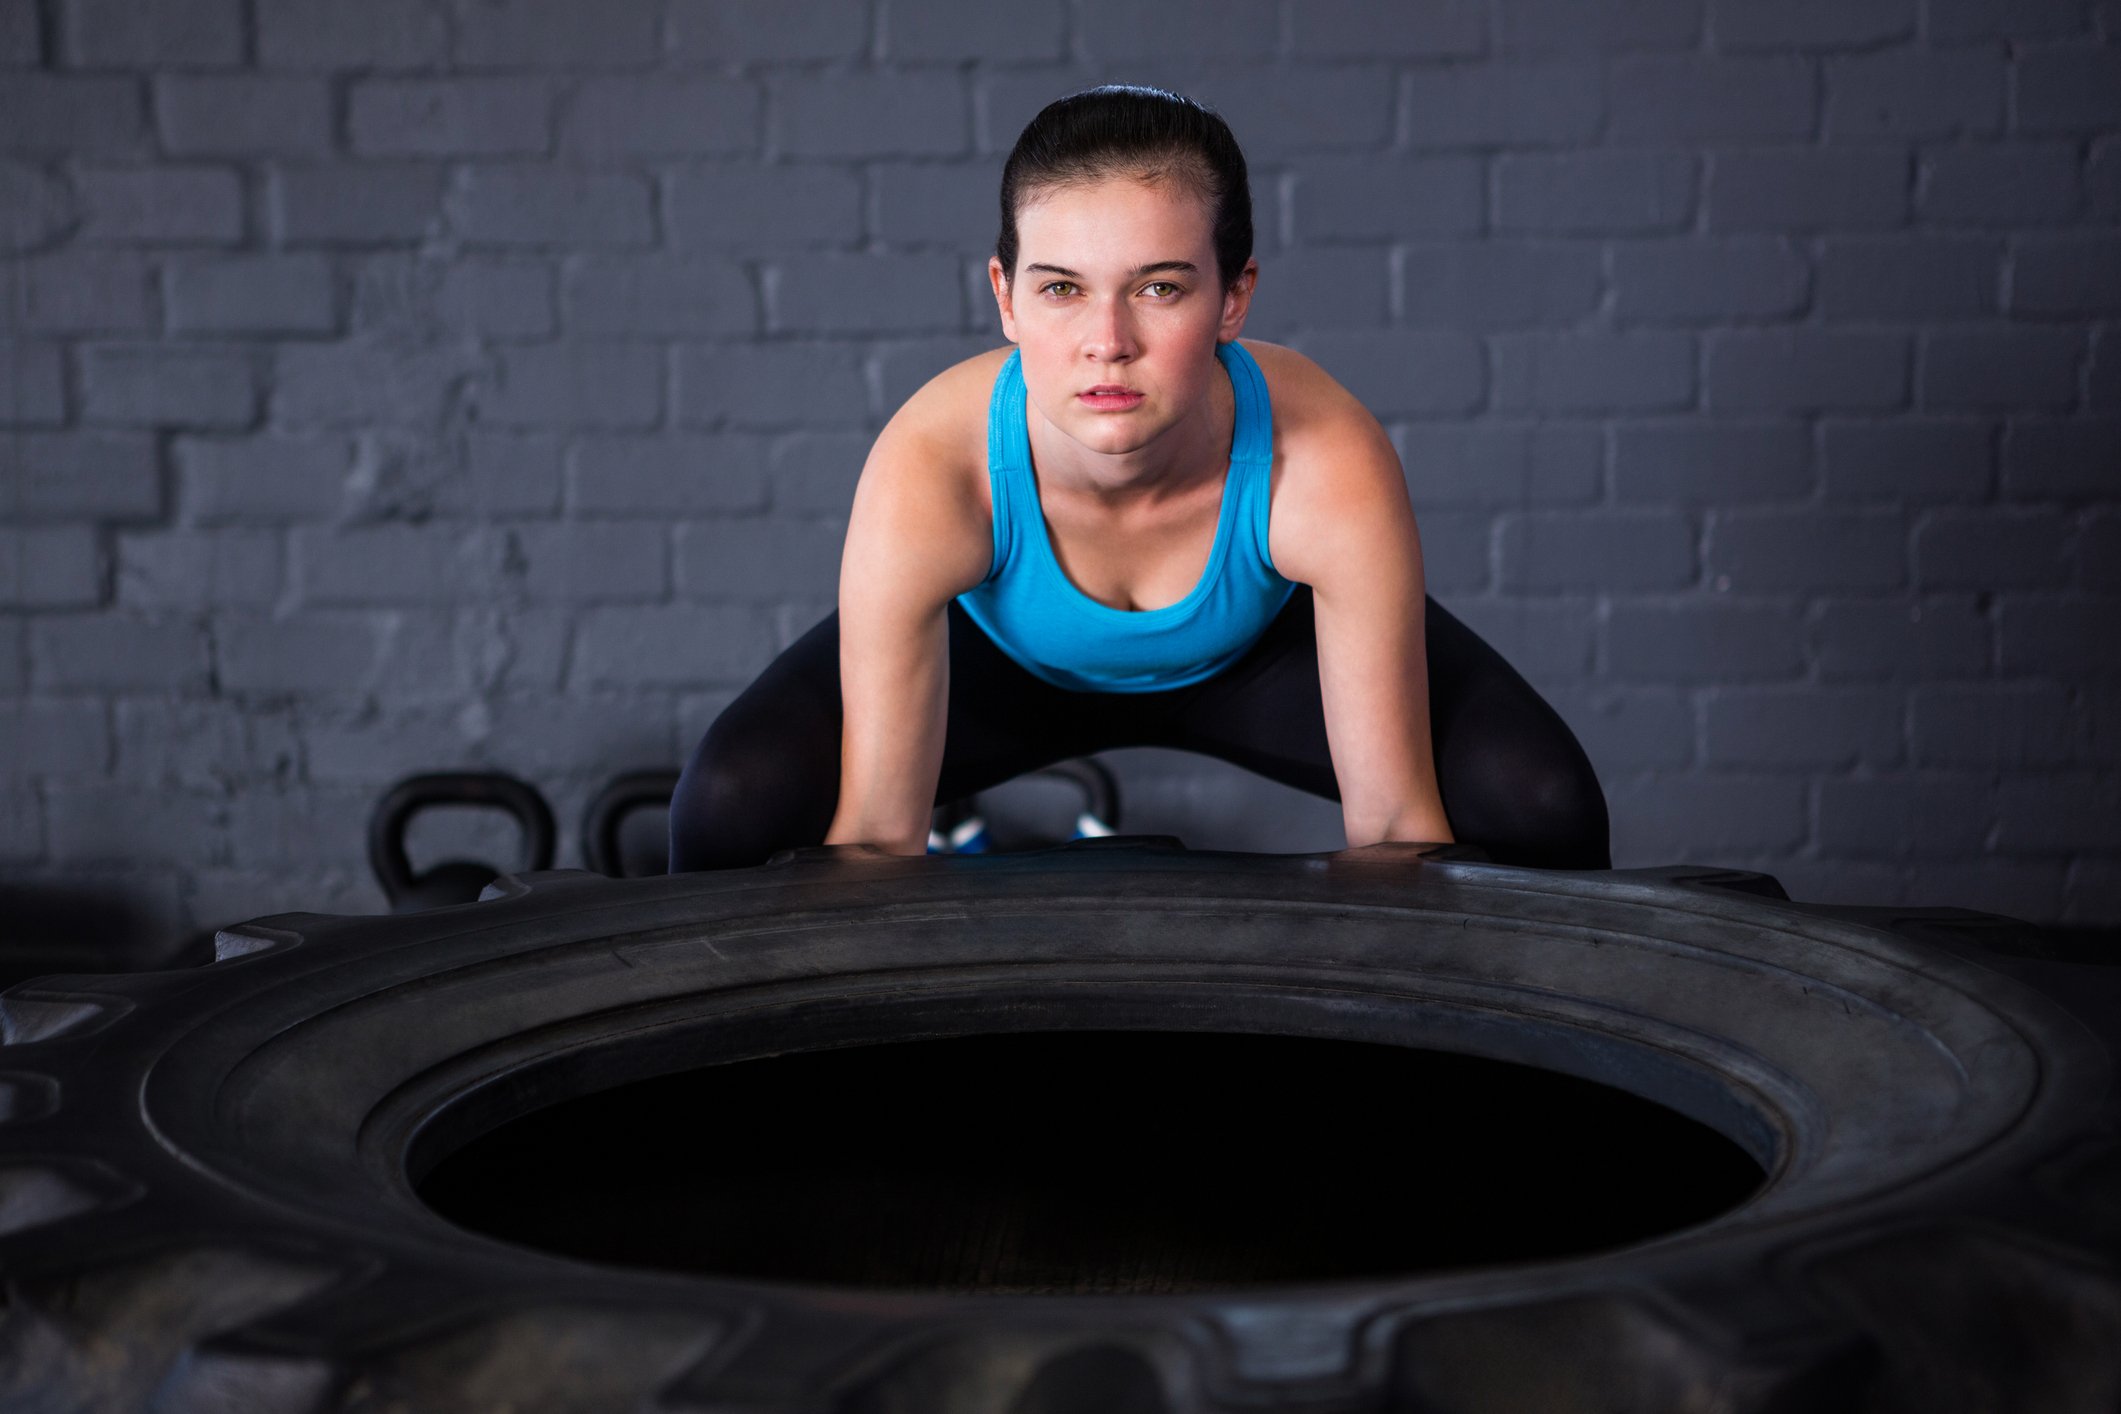
Beginner-Friendly Bodyweight Exercises
You don’t need dumbbells or machines to get fit. Your body is all the equipment you need. Here are some great starter moves:
Warm-Up (2–3 Minutes)
Jumping Jacks – 30 seconds
High Knees – 30 seconds
Arm Circles – 30 seconds forward + 30 seconds backward
Main Workout
Try each of these for 30 seconds to 1 minute. Rest for 15–30 seconds between exercises.
Push-Ups
(Knees on the floor is totally fine to start—build strength over time.)Bodyweight Squats
Lower your hips as if you’re sitting in a chair, keeping knees behind toes.Lunges
Step forward and lower until both knees are bent at 90 degrees. Alternate legs.Glute Bridges
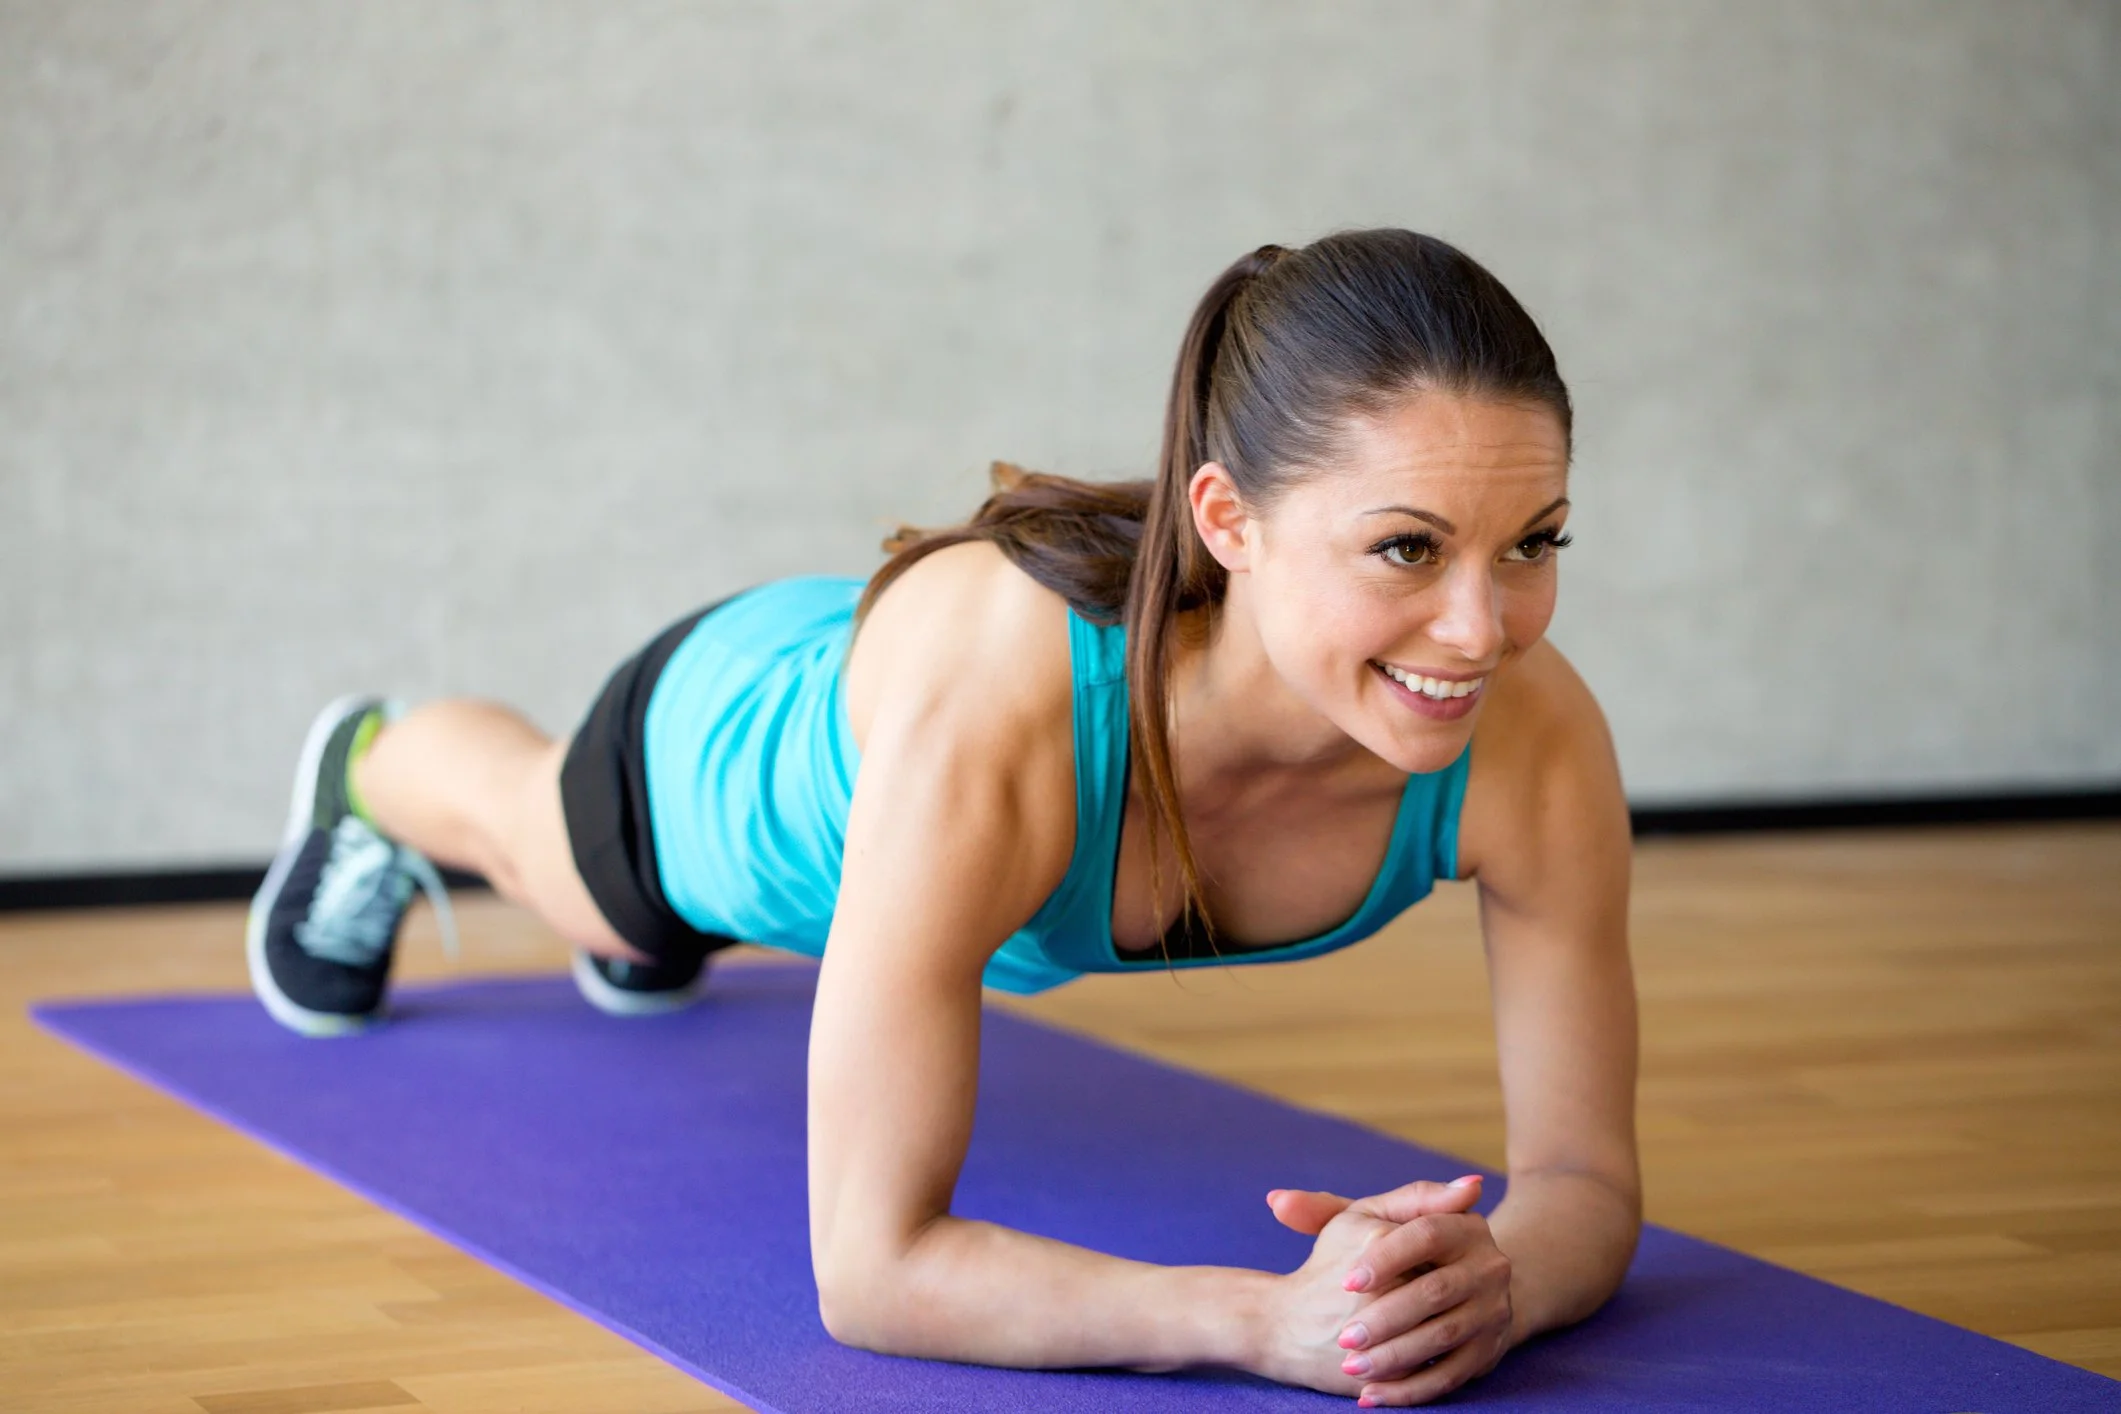
Lie on your back, knees bent, and lift your hips up. Great for your core and legs.Plank
Keep your back straight and hold on forearms. Start with 20–30 seconds.Mountain Climbers
In plank position, run your knees toward your chest. Great cardio!
Cool Down
Child’s Pose
Hamstring Stretch
Neck Rolls and Deep Breathing
Take 3–5 minutes to bring your heart rate down and relax.
Weekly Workout Plan for Beginners (No Equipment Needed)
Start with 3–4 days per week and build up gradually. Each session can be 20–30 minutes.
Day 1 – Full Body Strength
Do each main exercise above for 2–3 rounds.
Day 2 – Active Recovery or Rest
Go for a walk, do light stretching, or dance to your favorite songs.
Day 3 – Cardio Blast
Include jumping jacks, mountain climbers, burpees (optional), and high knees in a circuit.
Day 4 – Core + Flexibility
Focus on planks, glute bridges, and gentle yoga poses.
You can repeat this structure weekly, increasing the time or reps as you grow stronger.
Tips to Stay Motivated at Home
Set mini-goals: “I want to hold a plank for 60 seconds” or “Do 10 full push-ups.”
Track your progress: Use a journal, app, or notes on your phone.
Create a playlist: Music makes everything better.
Buddy up: Get a friend or sibling to join you.
Try challenges: 7-day or 30-day fitness challenges keep it fun and goal-focused.
Remember: Every step counts. Even if you just do 10 minutes today, you’re building momentum.
Common Mistakes to Avoid
Skipping warm-ups or cool-downs: This can lead to injuries or soreness.
Doing too much, too soon: Start small and be consistent.
Comparing yourself: Fitness is personal. You don’t need to match someone else’s pace or look.
Only focusing on appearance: Working out should make you feel stronger, not just look different.
Safety Tips for Teen Workouts
Listen to your body: Soreness is normal. Sharp pain is not.
Stay hydrated: Especially if you’re sweating.
Don’t work out on an empty stomach: A banana or small snack before helps.
Talk to a trusted adult: Especially if you’re unsure about a move or have any medical conditions.
Final Thought
Getting fit at home is one of the easiest, cheapest, and most empowering things you can do as a teen. You’re building a habit that helps your body, brain, and confidence—and you don’t need anyone’s permission to start.
You’ve got this. One move at a time.
FAQ’s
-
Absolutely. Bodyweight exercises, daily movement, and consistency are all you need to get fitter and stronger.
-
A full-body session with squats, lunges, push-ups, planks, and stretching is a great start—just 20 minutes, 3–4 times a week.
-
Aim for at least 3–5 days a week. Mix strength, cardio, and flexibility. Rest days are important too!
-
Yes, as long as you mix intensity levels. Not every day needs to be intense—walking or yoga counts too.
-
Start at home where it’s private. Everyone begins somewhere, and fitness is about feeling good—not looking a certain way.